Handmade Tinkerbell Handbag/Purse - The Boronia Bowler Bag by Blue Calla Patterns

Whatabout ye folks, it's Lee here. I have a few things to say about this bag so, buckle up Buttercup, cause this is gonna be a doozy of a blog post, teehee. I completely forgot to share this bag that I made quite a few months ago. It is another Boronia Bowler bag from Blue Calla Patterns. I had a couple of fat quarter bundles from Disney's Tinkerbell knocking about in my stash and I wanted to use them in a bag. The fat quarters just fit this pattern so I was delighted when I was able to use them. And if I am being honest, the fat quarter was maybe 1/2 inch too short for the actual pattern, but the pattern actually uses a good bit of overlap between the fabric and faux leather, so that 1/2 inch of fabric that I didn't have would have been hidden behind the faux leather anyway, so technically it was waste that wouldn't have been seen. So, I managed to make my 2 fat quarters work with this pattern pretty perfectly.
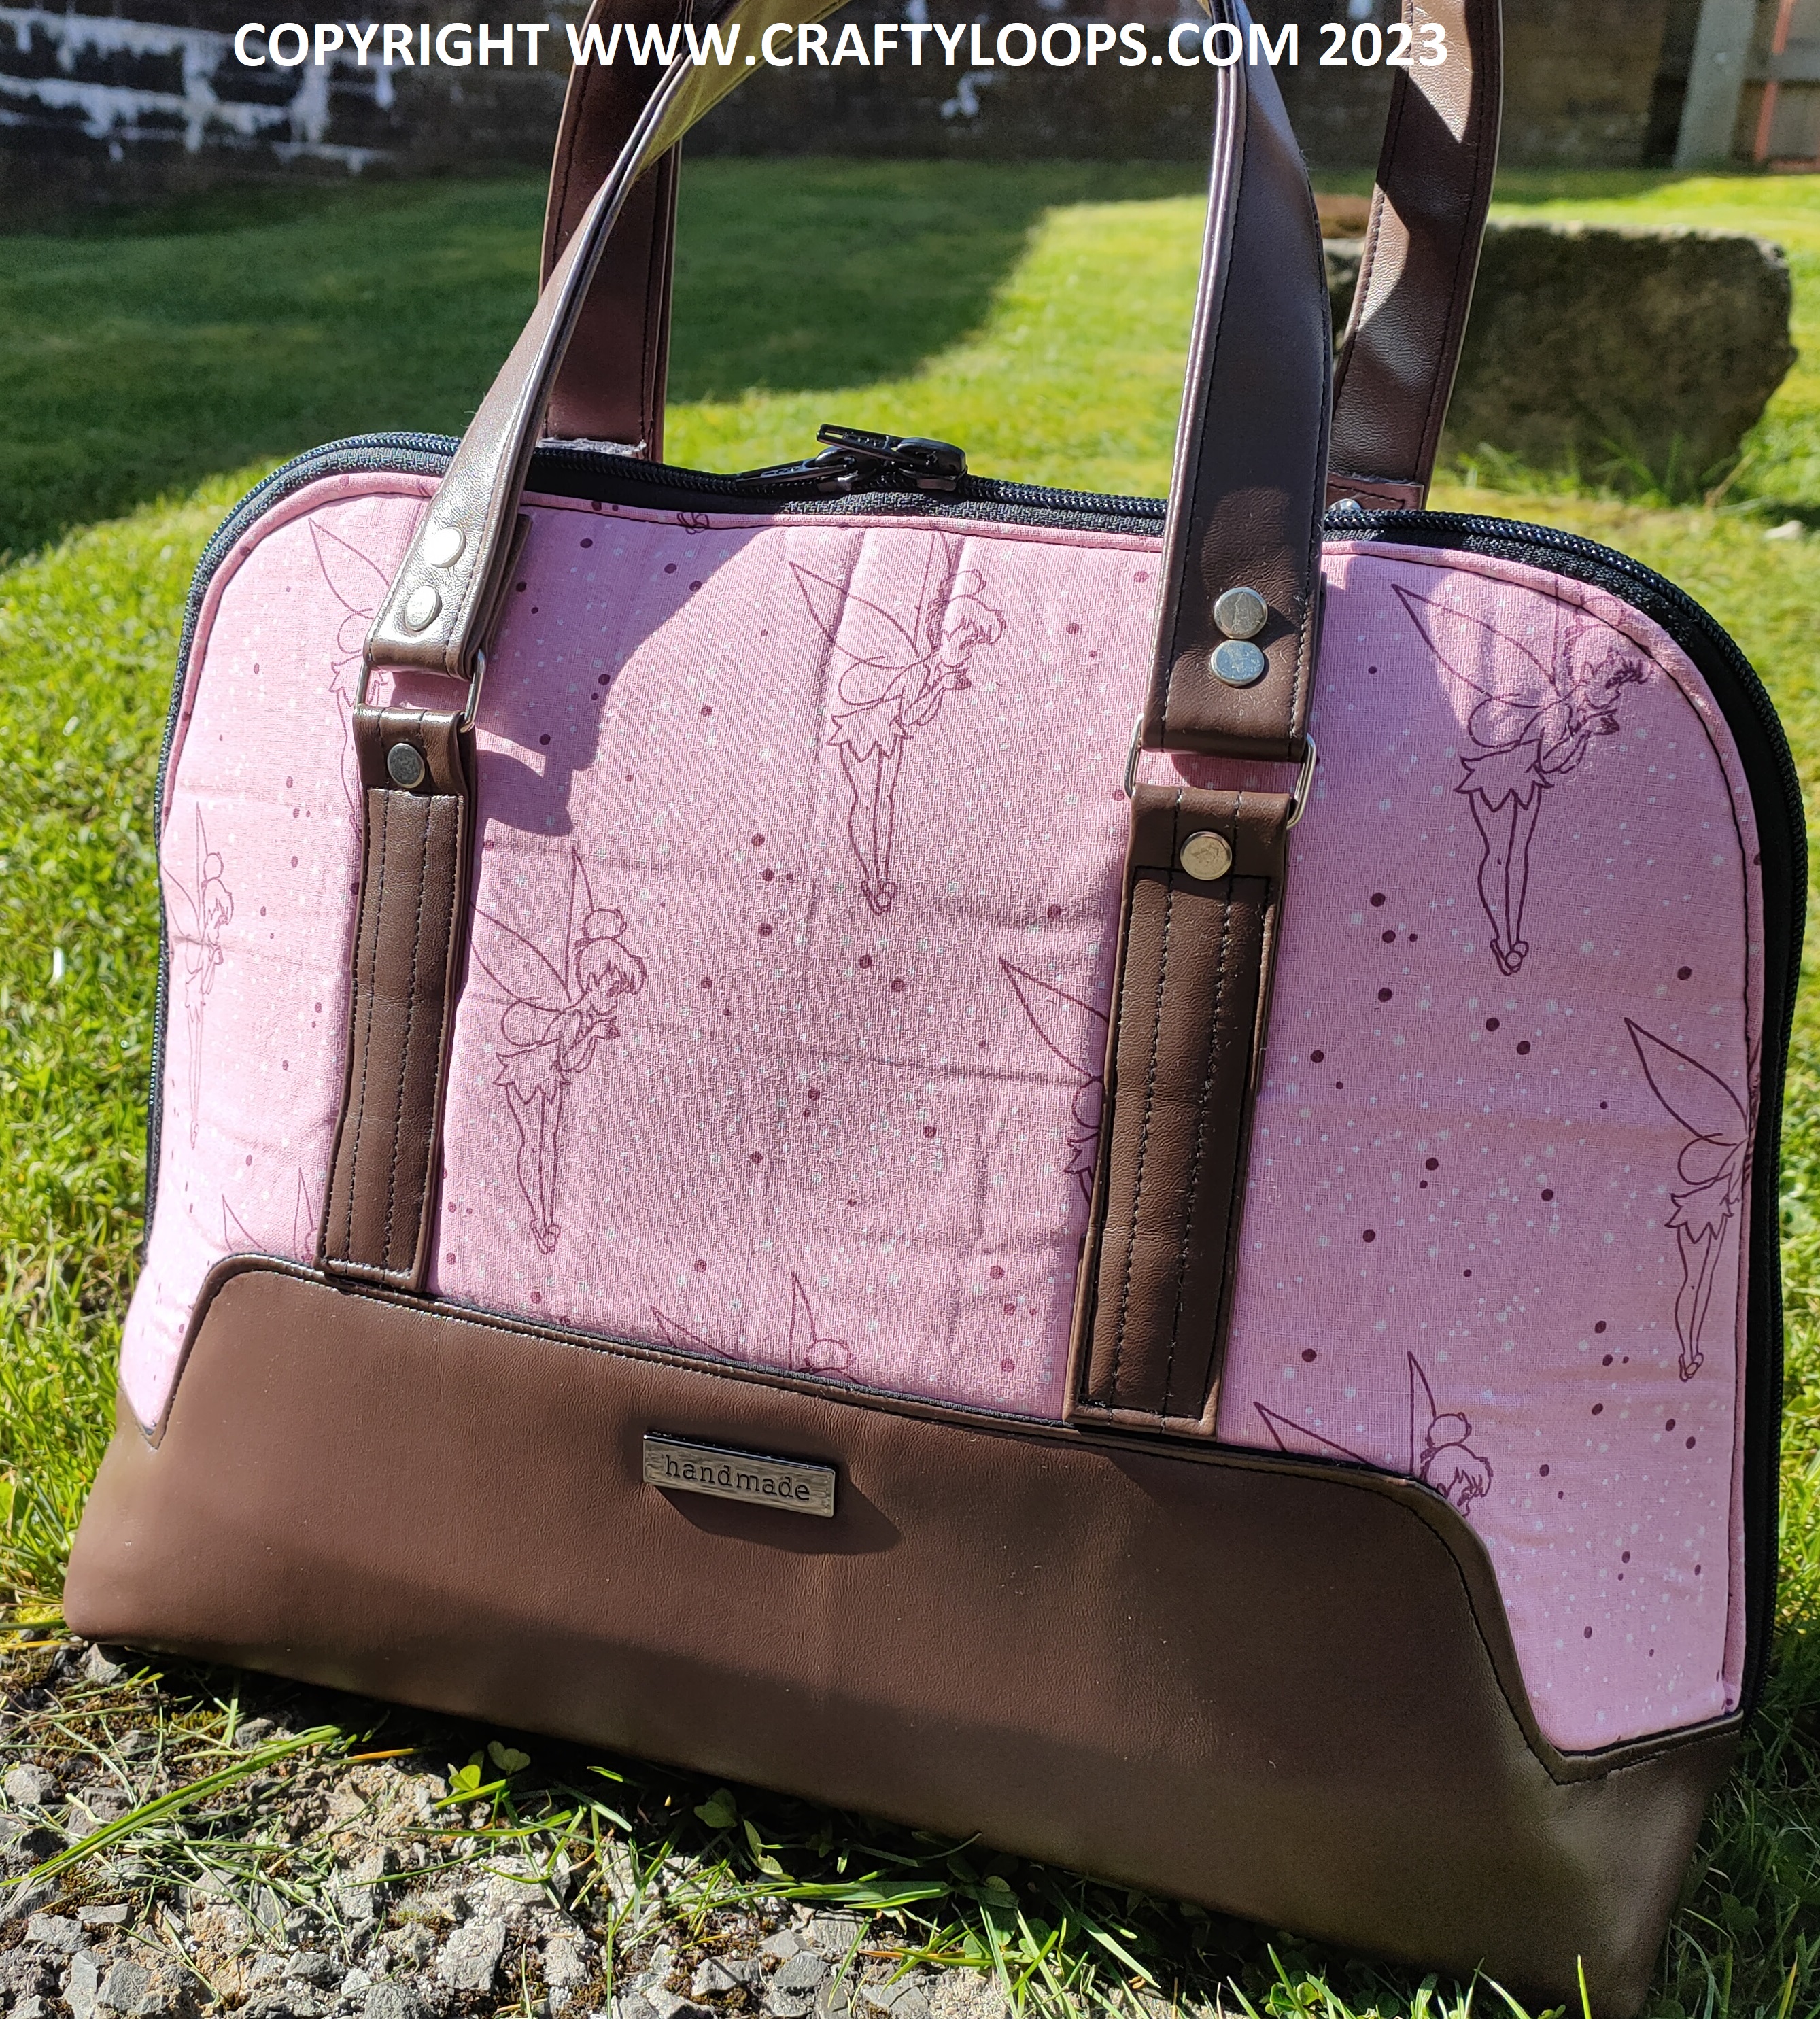
I love the colours of pink and brown together. And as usual, you know me.....it wouldn't be a Crafty Loops project without at least one or two mistakes.....and I always like to admit mistakes to you because no-one is perfect. But it also means I can share how I overcome my mistakes (or hide them, lol) and end up with a pretty good result regardless. So, when I made this bag, the straps where meant to be longer and sewn under the base piece of faux leather. So they were meant to look like they were coming out from behind the base piece. Old Loops here forgot to do that step and as I had already added the base to the bag, I didn't have the heart to unpick it all and start again. Particularly as I would have had to unpick all the top stitching on the faux leather....and if there is one thing I have learned from this bag making process, it's that faux leather does not like to be unpicked and resewn. It leaves too many holes and essentially perforates the leather, weakening it's structure. So, I left it as is, and I cut the straps down in length and just sewed them up to the base. It wouldn't do anything bad to the structural integrity of the bag at all, it just means the straps might look a wee bit different. But maybe if I hadn't have mentioned it, you wouldn't have even noticed. But as I said, I do like to tell you when I make a mistake. It's all about the learning....and if mistakes equate to learning...then I am one of the most learned people around, teehee.


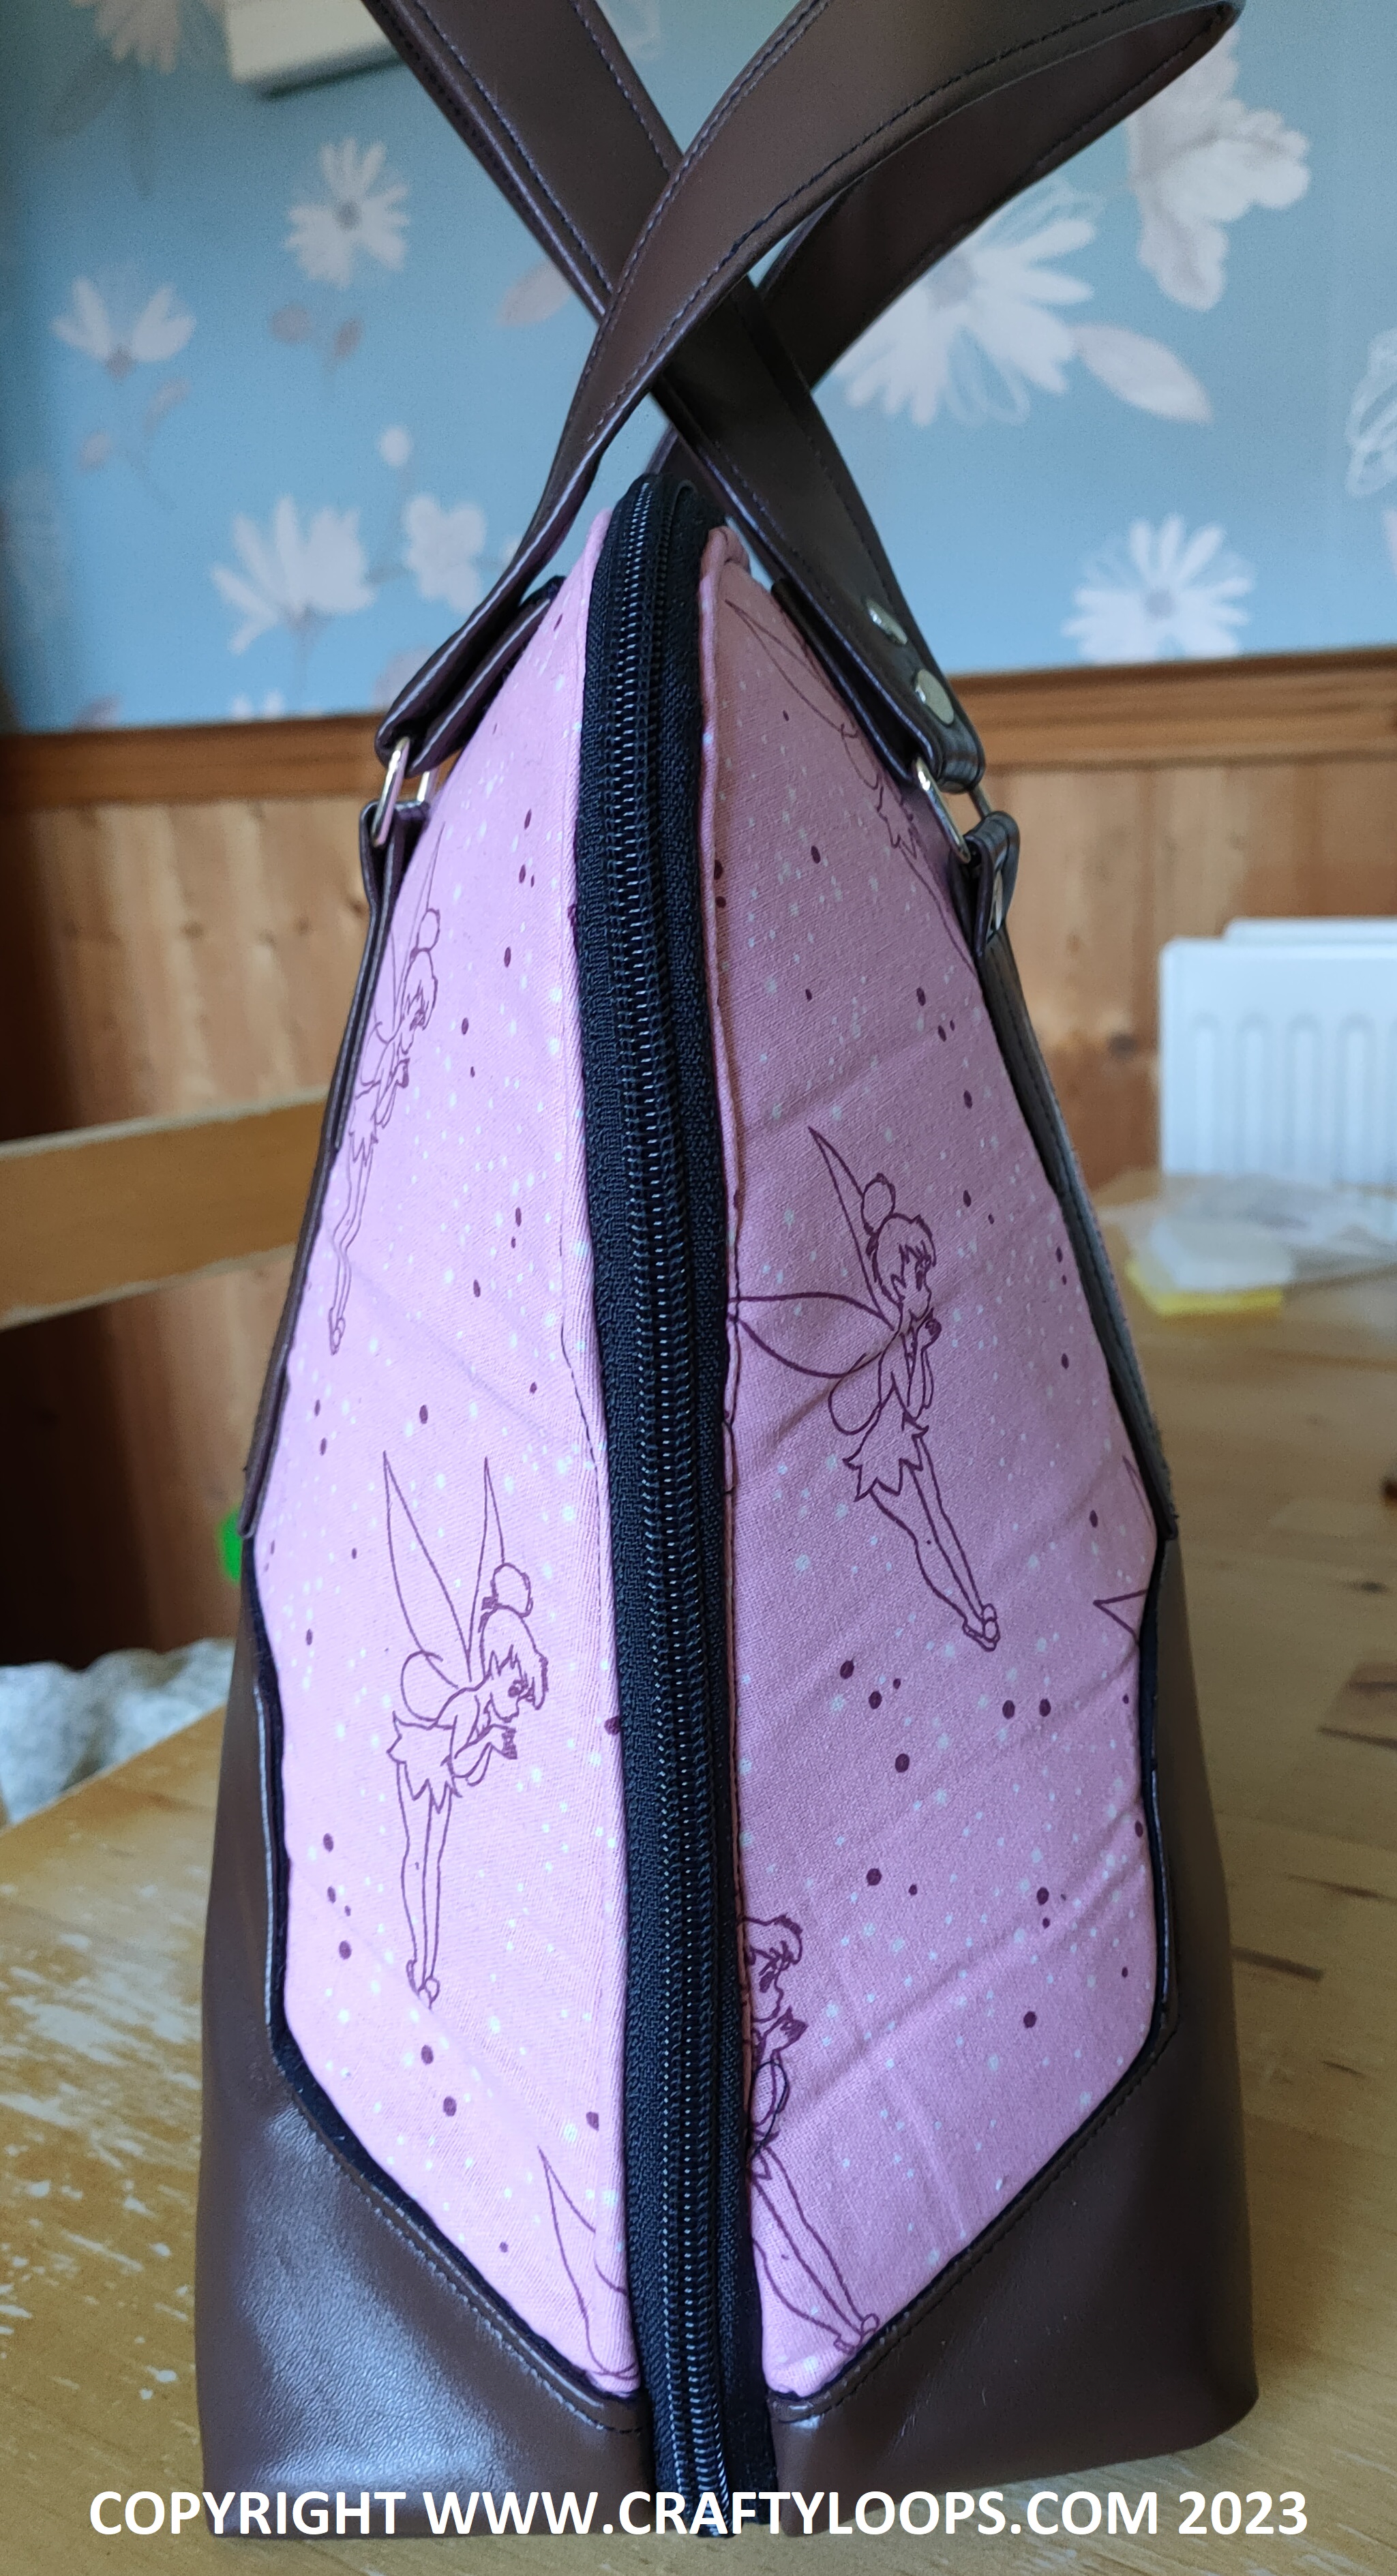


I do like this bag but the wrinkles in the fabric have bugged me no end. I think that is why I hadn't shared it. But I think that if I get some spray starch, that might help it. And I really wish I had have had my crocodile textured faux leather at the time of making this. I think the bag needs a bit of texture. And the crocodile faux leather would have been a subtle nod to the evil, Captain Hook. I might make another one, using that particular faux leather....and maybe not make mistakes in that one and ensure it's completely wrinkle free this time, teehee.
That's it from me folks. Toodles Noodles ...... Lee aka Crafty Loops xx
SHOPPING LIST
At the time of typing, the items I linked to are available. However, items stock changes all the time and with time marching by, some items I link may no longer be available from that particular seller. However, a quick Google search should help you out if my links are no longer working/available.
5& 1/2 inch Kai Scissors - Ebay (These are the best scissors I have ever used in my life. They may be small but they can cut through anything....including my finger....ask me how I know....oops!)
Disney Tinkerbell Fabric - bought in a fat Quarter bundle from a private seller on Ebay
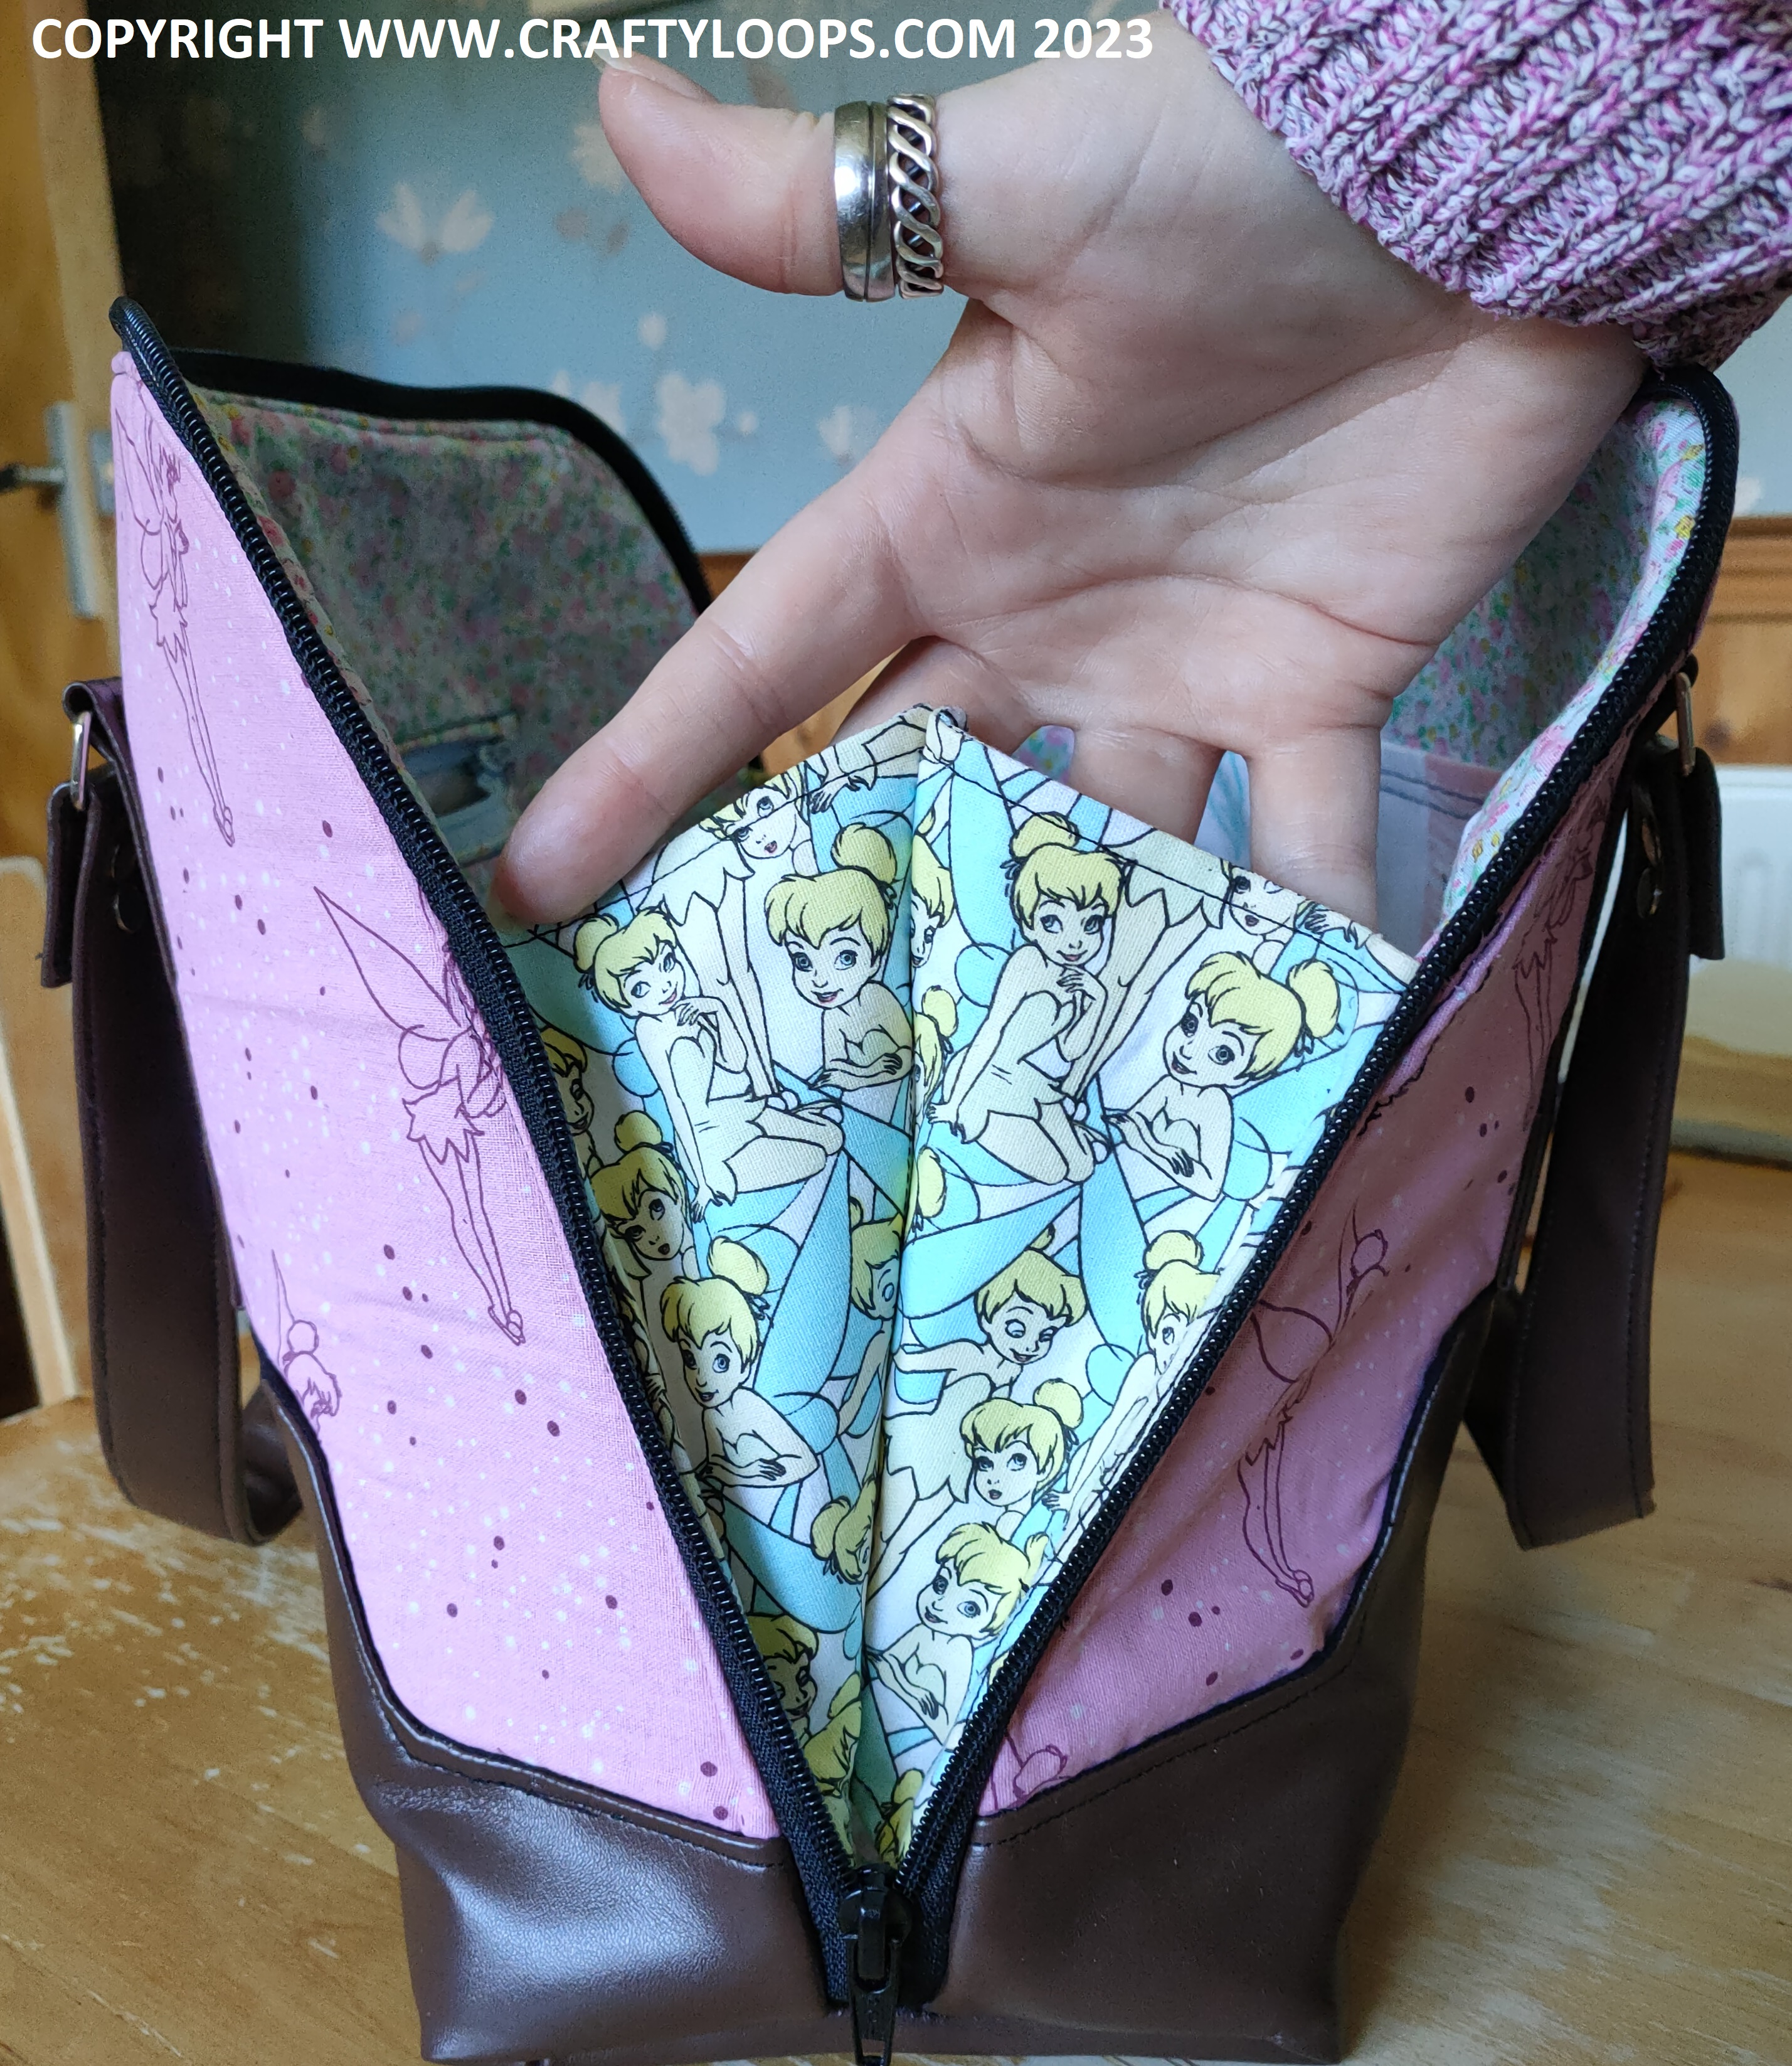
Lining Fabric was already in my stash - probably bought on Ebay, lol
The Boronia Bowler pattern from Blue Calla Patterns
Faux Leather, dark brown - Ebay
Metal Handmade label - Amazon
Jeans Needles - Amazon
25mm Buckle sliders - Amazon
8mm Chicago Screws - Amazon
Metal bag feet - Amazon
Bosal In-R-Form single sided Fusible Foam Stabiliser - carogojo, Ebay
Teflon non-stick foot, Amazon- for sewing machine. Works great when working with faux leather. This foot works perfectly with my Janome QXL605 sewing machine
Woven Fusible Interfacing - (I used the black, lightweight this time around) - Ebay
No 5 zip tape & zip slides - Ebay
If you like my blog and would like to buy me a coffee, I have a ko-fi page. Don't feel obligated though, it's only if you want to. Every Ko-fi goes towards maintaining this domain and blog. If you do buy me a ko-fi, a massive thank you to you. You'll never know just how much I appreciate it xx

I have a YouTube channel, if you want to check it out, click on the image below

Comments
Post a Comment
Helloooooo! Anybody out there??!! Hey....there you are! Thanks for leaving a comment and stopping by my Blog. Lee x