Boronia Bag - Blue Calla Patterns - Handmade Tim Burton handbag/purse
Whatabout ye folks, it's Lee here. I realise that my blog may look like it's turning into a bag making blog, but I promise it isn't.....I'm going through a phase, teehee. Maybe I should maybe think about making another blog for just my sewing projects. But, I suppose, this is a crafting blog and I never like to stick to one thing only. I like to learn tonnes of different crafts, it keeps things interesting.

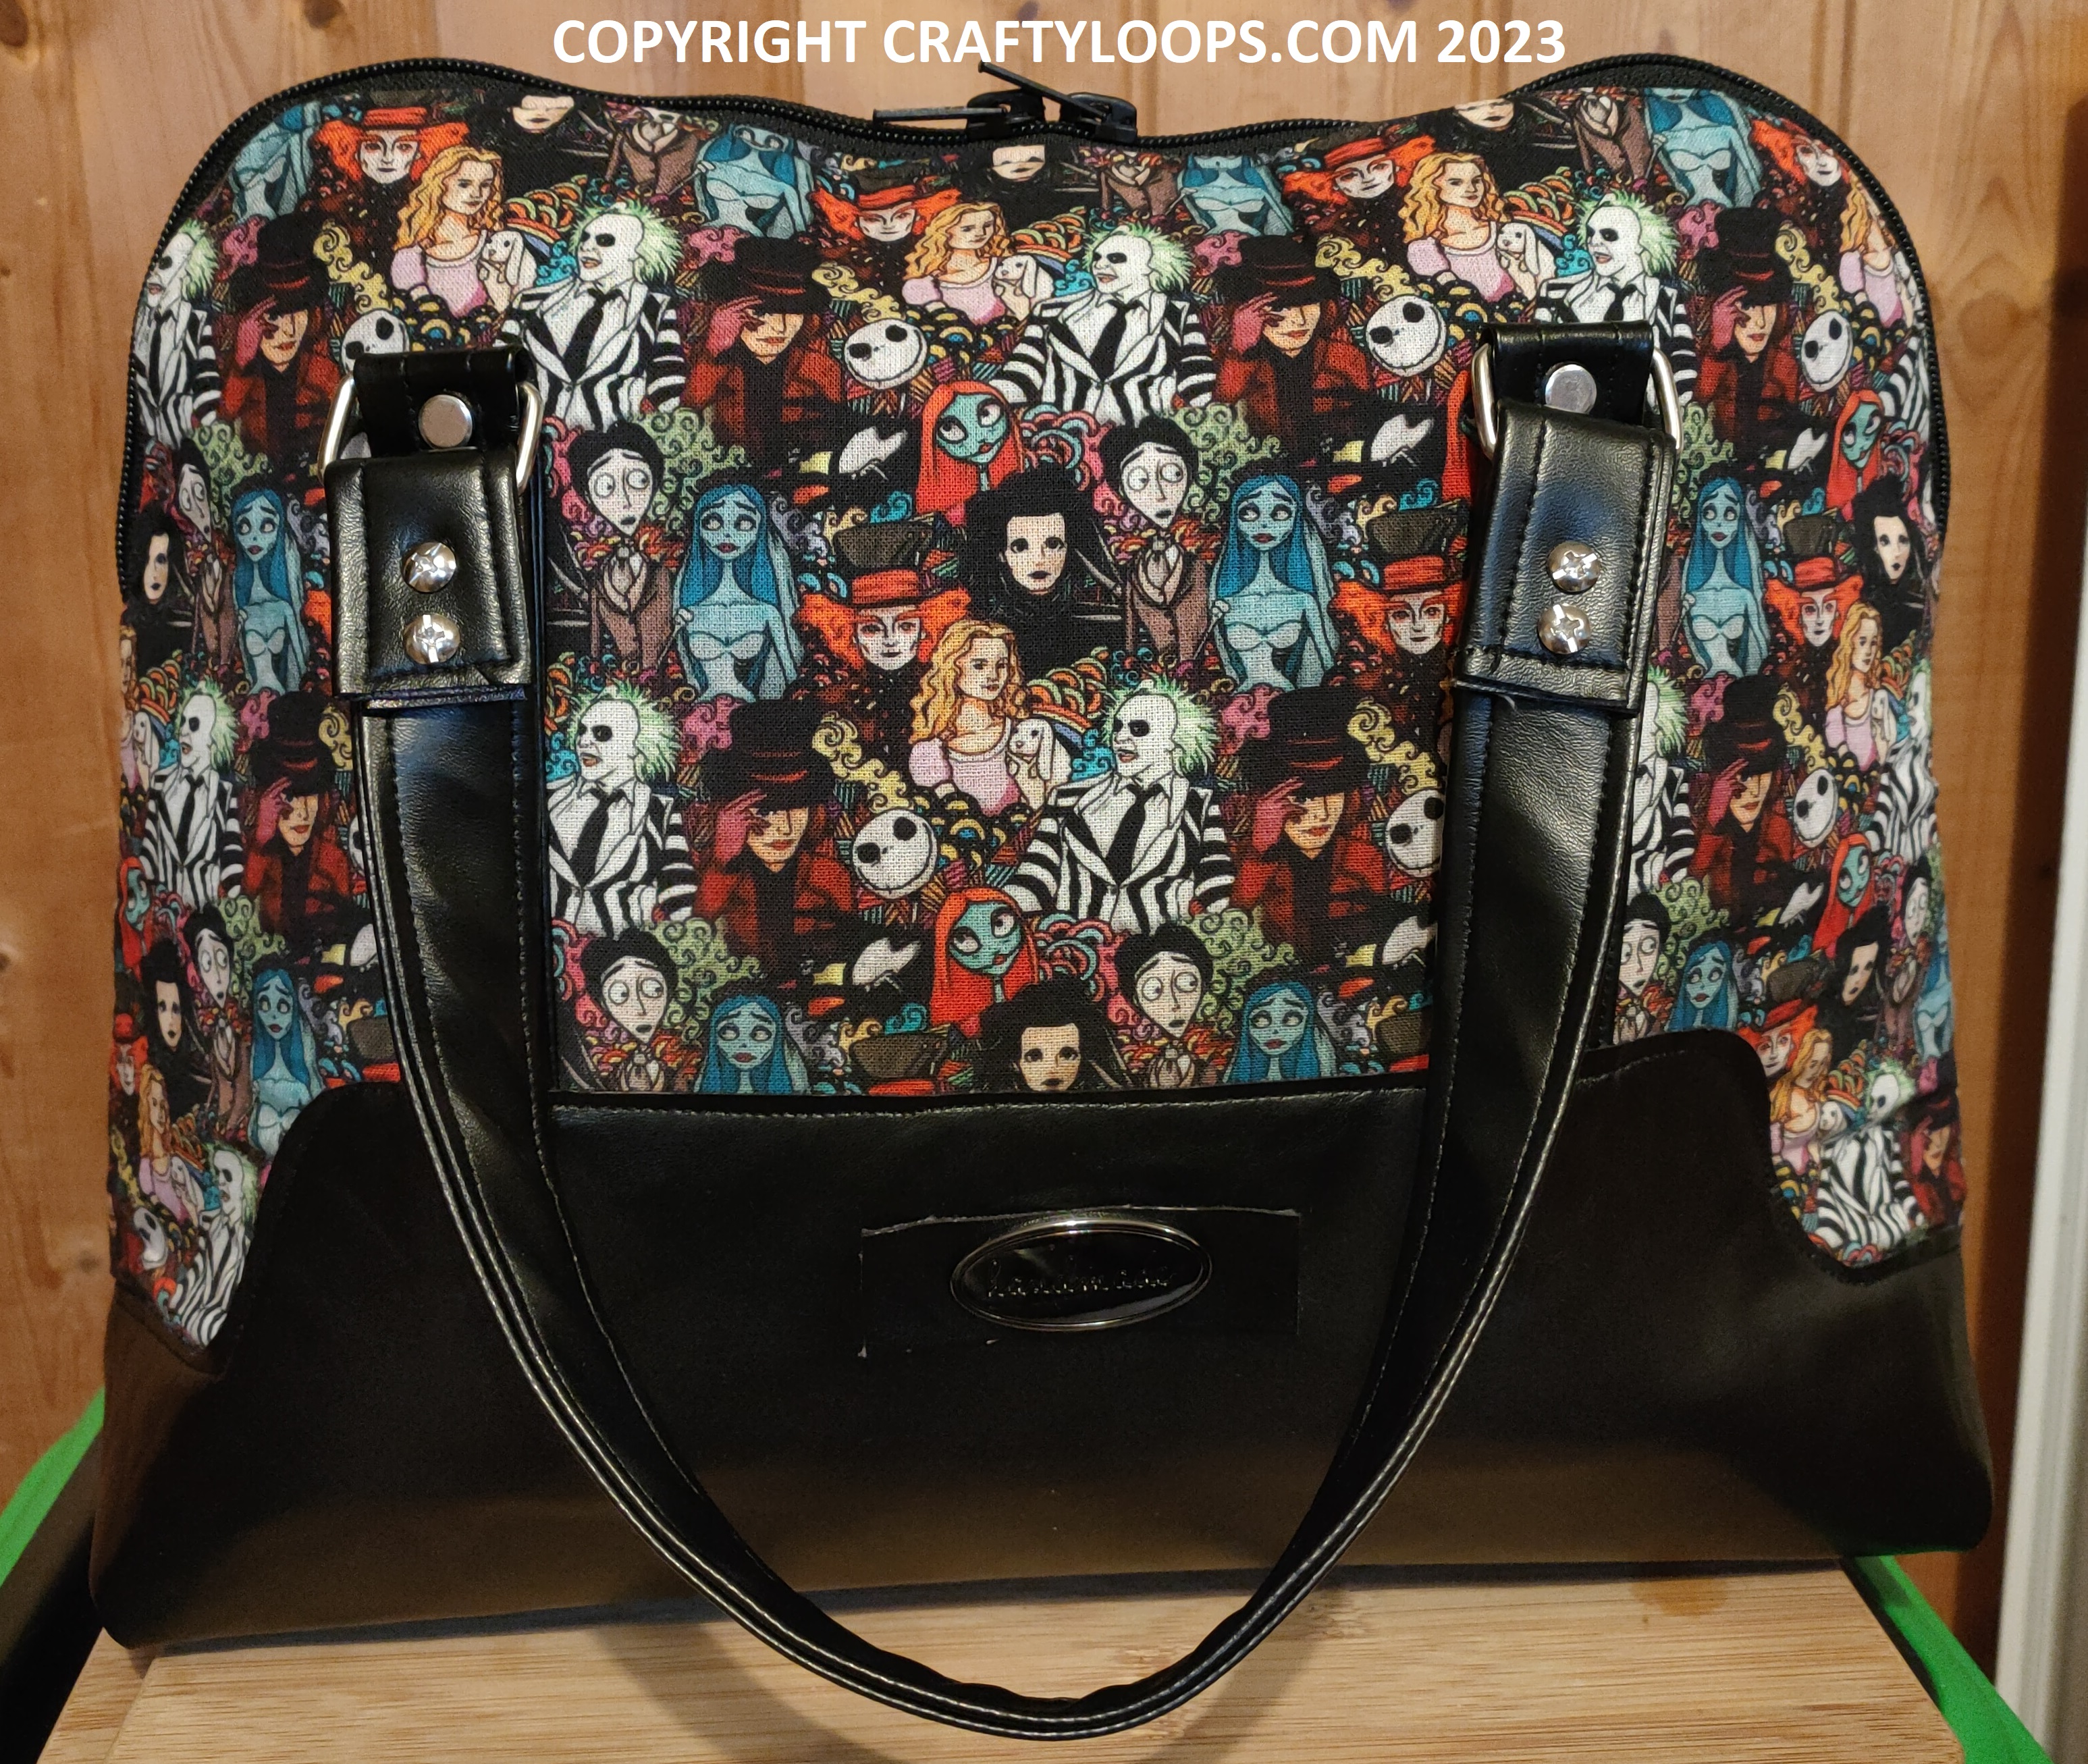
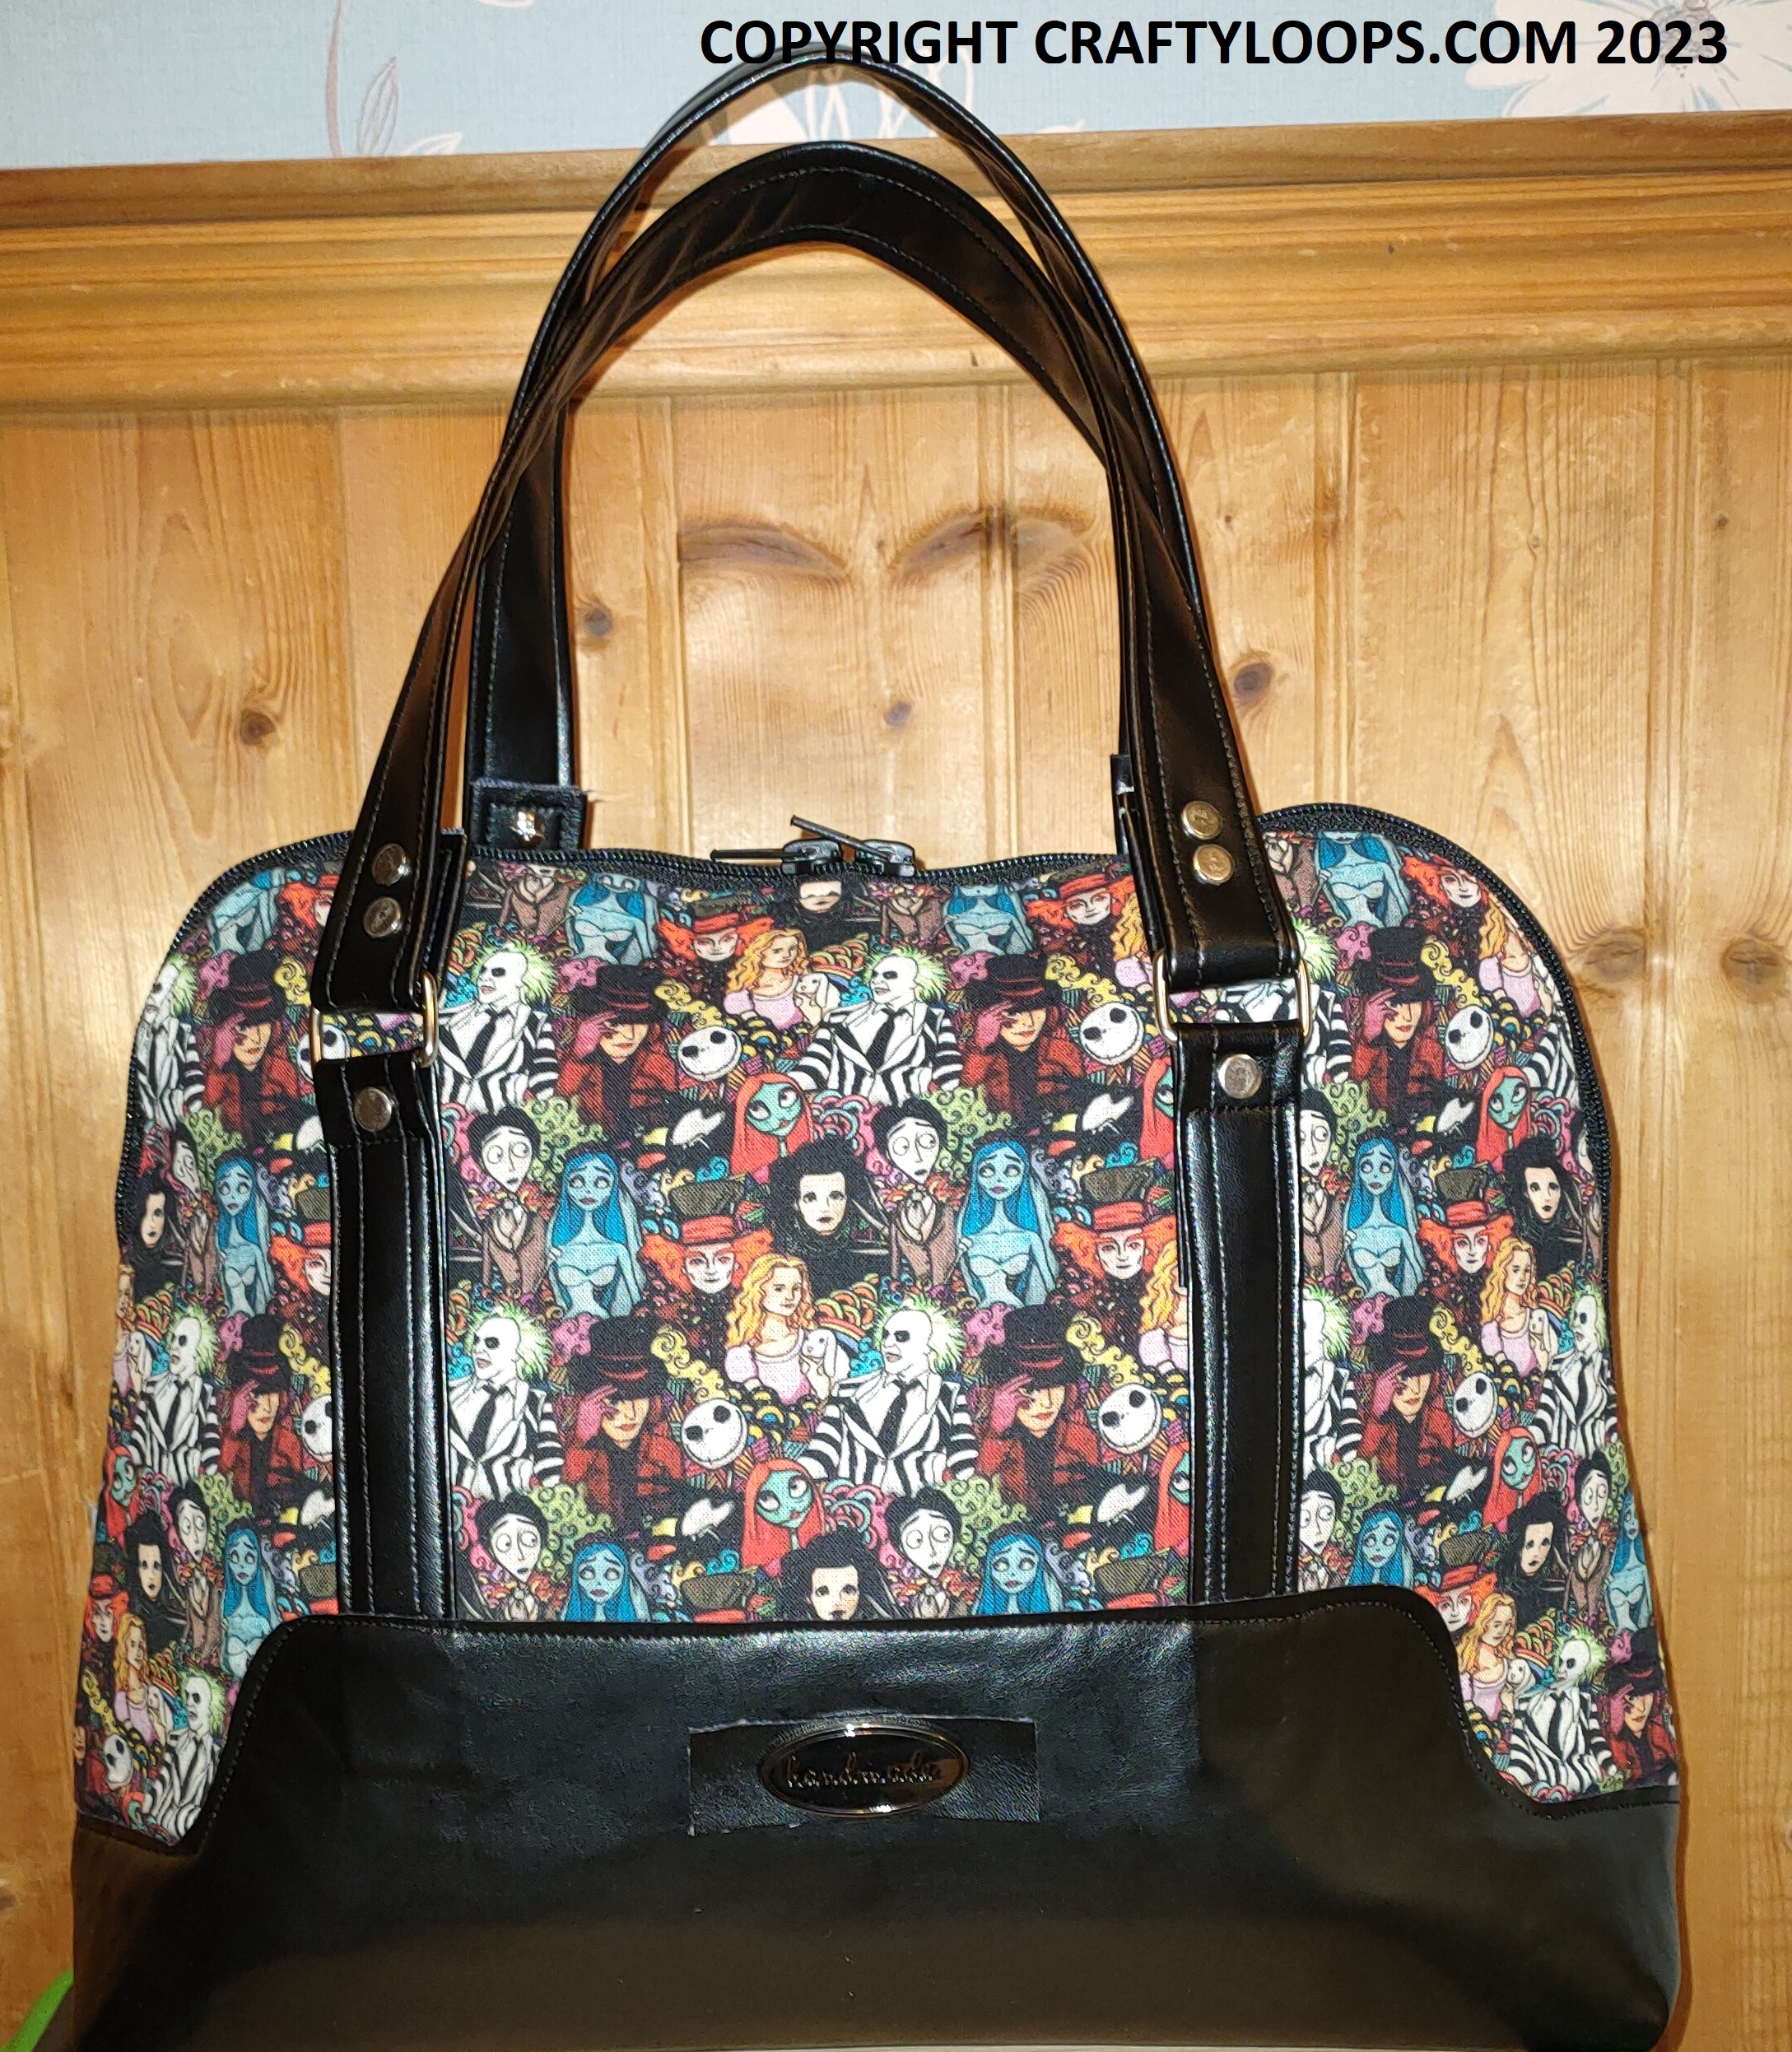
Anyway, I told you that I was making another one of the Blue Calla Patterns Boronia Bags. I am a big Tim Burton fan and as soon as I saw this Tim Burton characters fabric on Craftyjam on Ebay, I knew I had to make a handbag from it. Looks like the whole gang is here on this fabric, lol. And the Boronia pattern is perfect because you actually don't need a massive length of the main body fabric at all. I only bought a 1/2 metre and I got all the pattern pieces needed with some to spare. So, I didn't mind spending a wee bit more than I usually do, on this fabric. Plus, it's 100% cotton and so unusual. I knew I had to buy it as this type of fabric is pretty rare to find in the UK.....that's my excuse, and I'm sticking to it, lol.
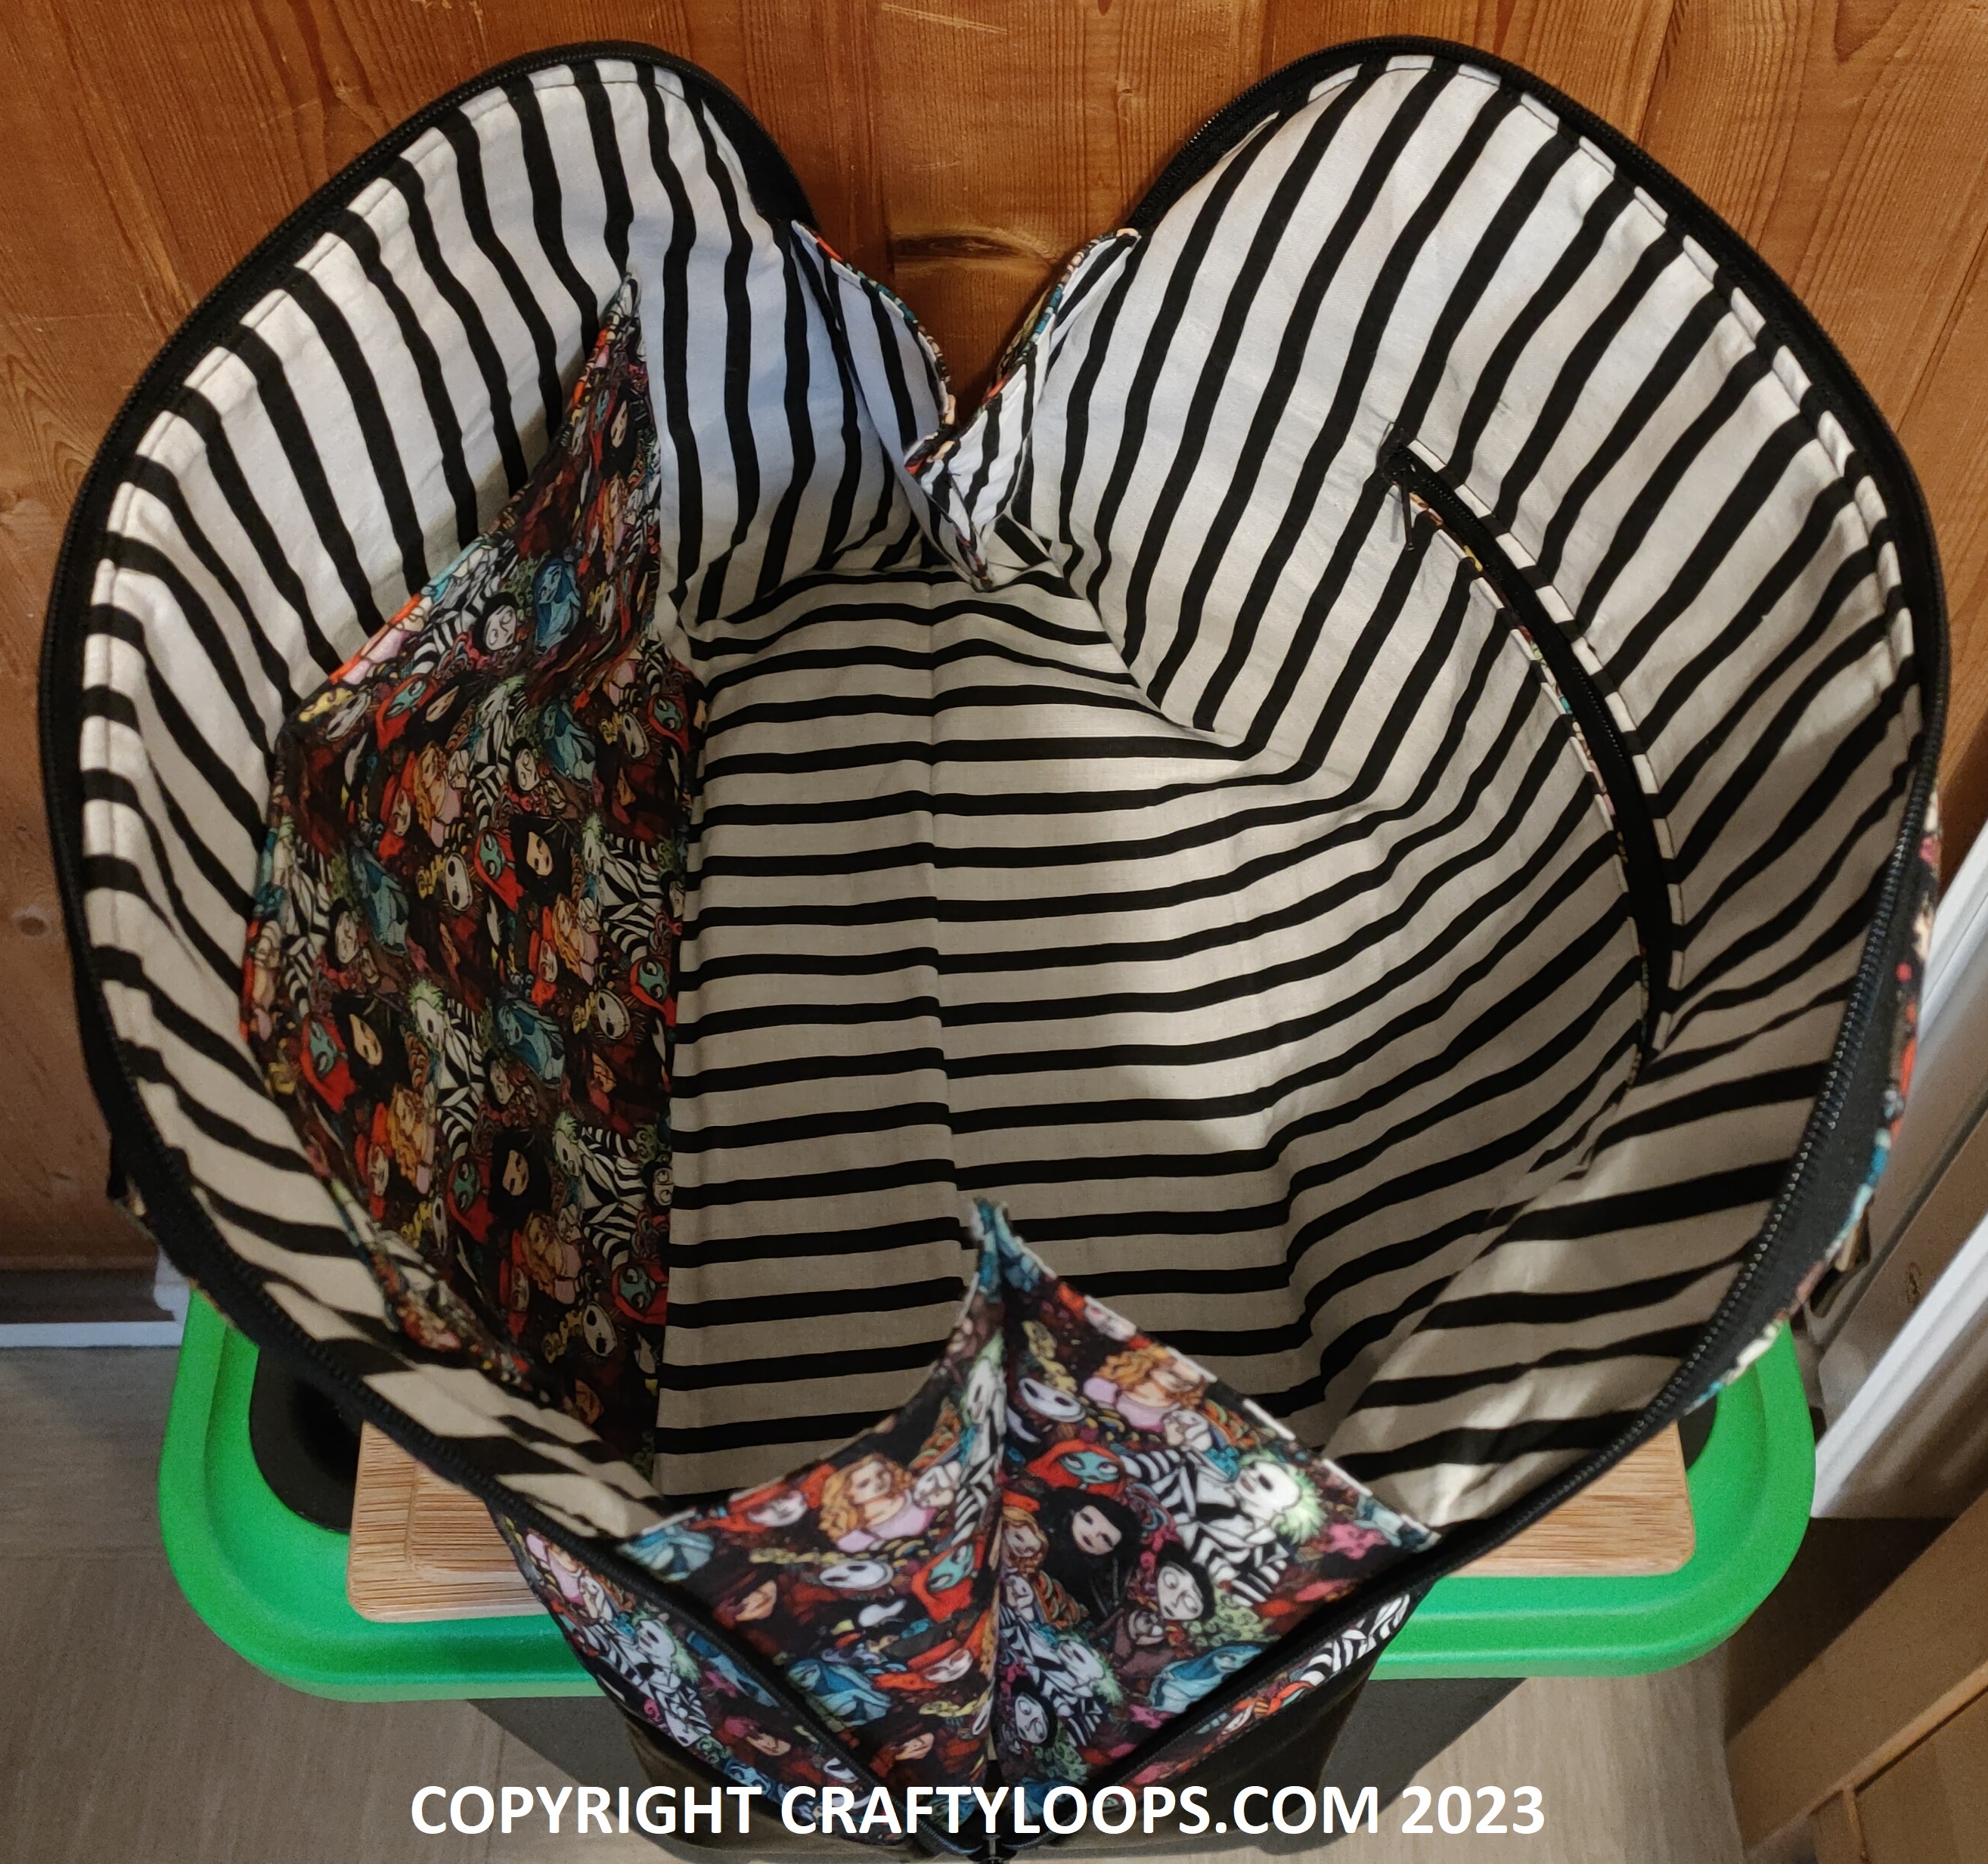
And when I saw this perfect black & white fabric from the lovely Agnes over at Fabricco on Ebay, I instantly knew it would be perfect for the inside of the bag. If that doesn't scream Tim Burton, I don't know what does. I feel like Beetlejuice is gonna pop out of this bag at any moment, teehee. This fabric is 100% cotton too (not a polycotton blend) so it was a complete dream to work with. Lovely and thick and soft. Perfect for this bag. Plus, Agnes is local to me in Northern Ireland too. I always love to support local businesses when I can. I'm really starting to see the benefits of working with really good quality fabrics. When I started sewing, I thought any old cotton blend fabric at the cheapest price would do for just about any project. But definitely as time has gone on and I've worked with better fabrics, I am really seeing what spending just a wee bit more on quality fabrics does for your projects. Not that anything I buy is that terribly expensive anyway...your woman here likes a bargain like the best of us. But there is a lot to be said about buying better quality products to make your projects with.


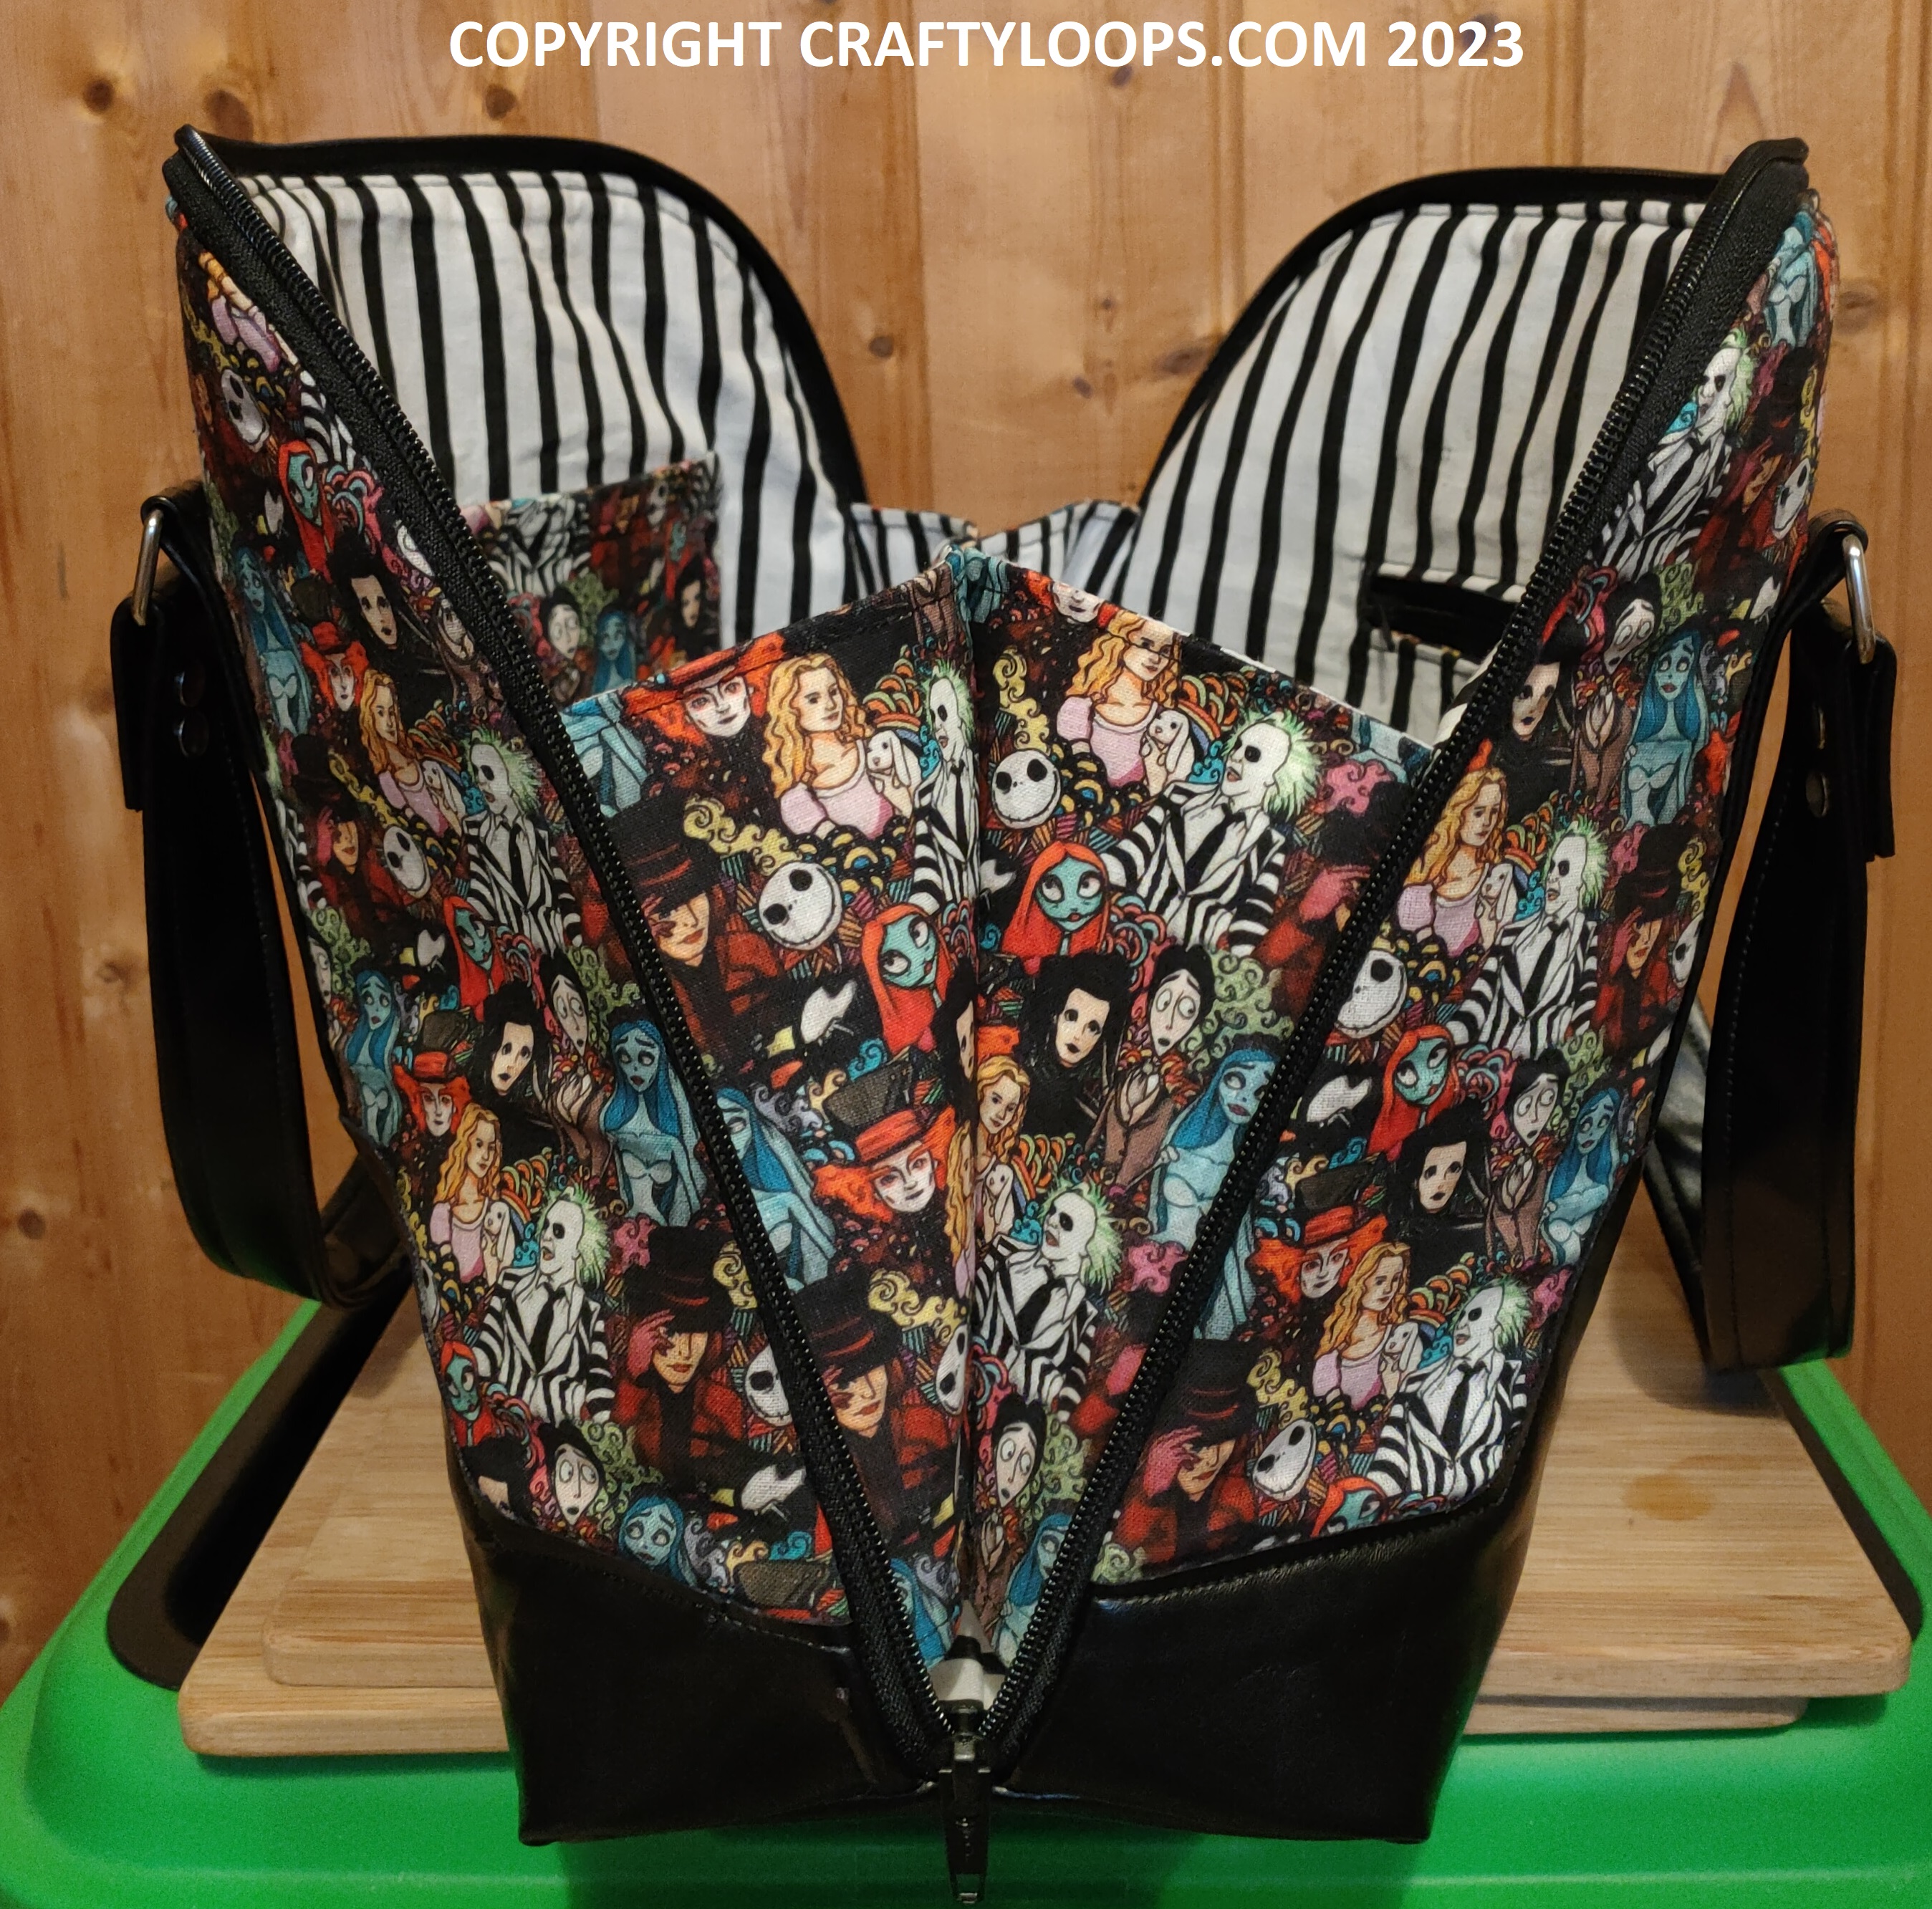
The side gussets have the outside and inside fabric on either side. When working with faux leather or vinyl, please get yourself a teflon, non-stick foot for your sewing machine. You will not believe how much it will help you with using this type of material. When I didn't use it, I really struggled with the faux leather. So 100%, buy a teflon, non-stick foot for your machine. I purchased just a generic one from Amazon (listed below) and it only cost me a few Pounds but it saved me a whole lot of hassle and bad language....trust me, lol.
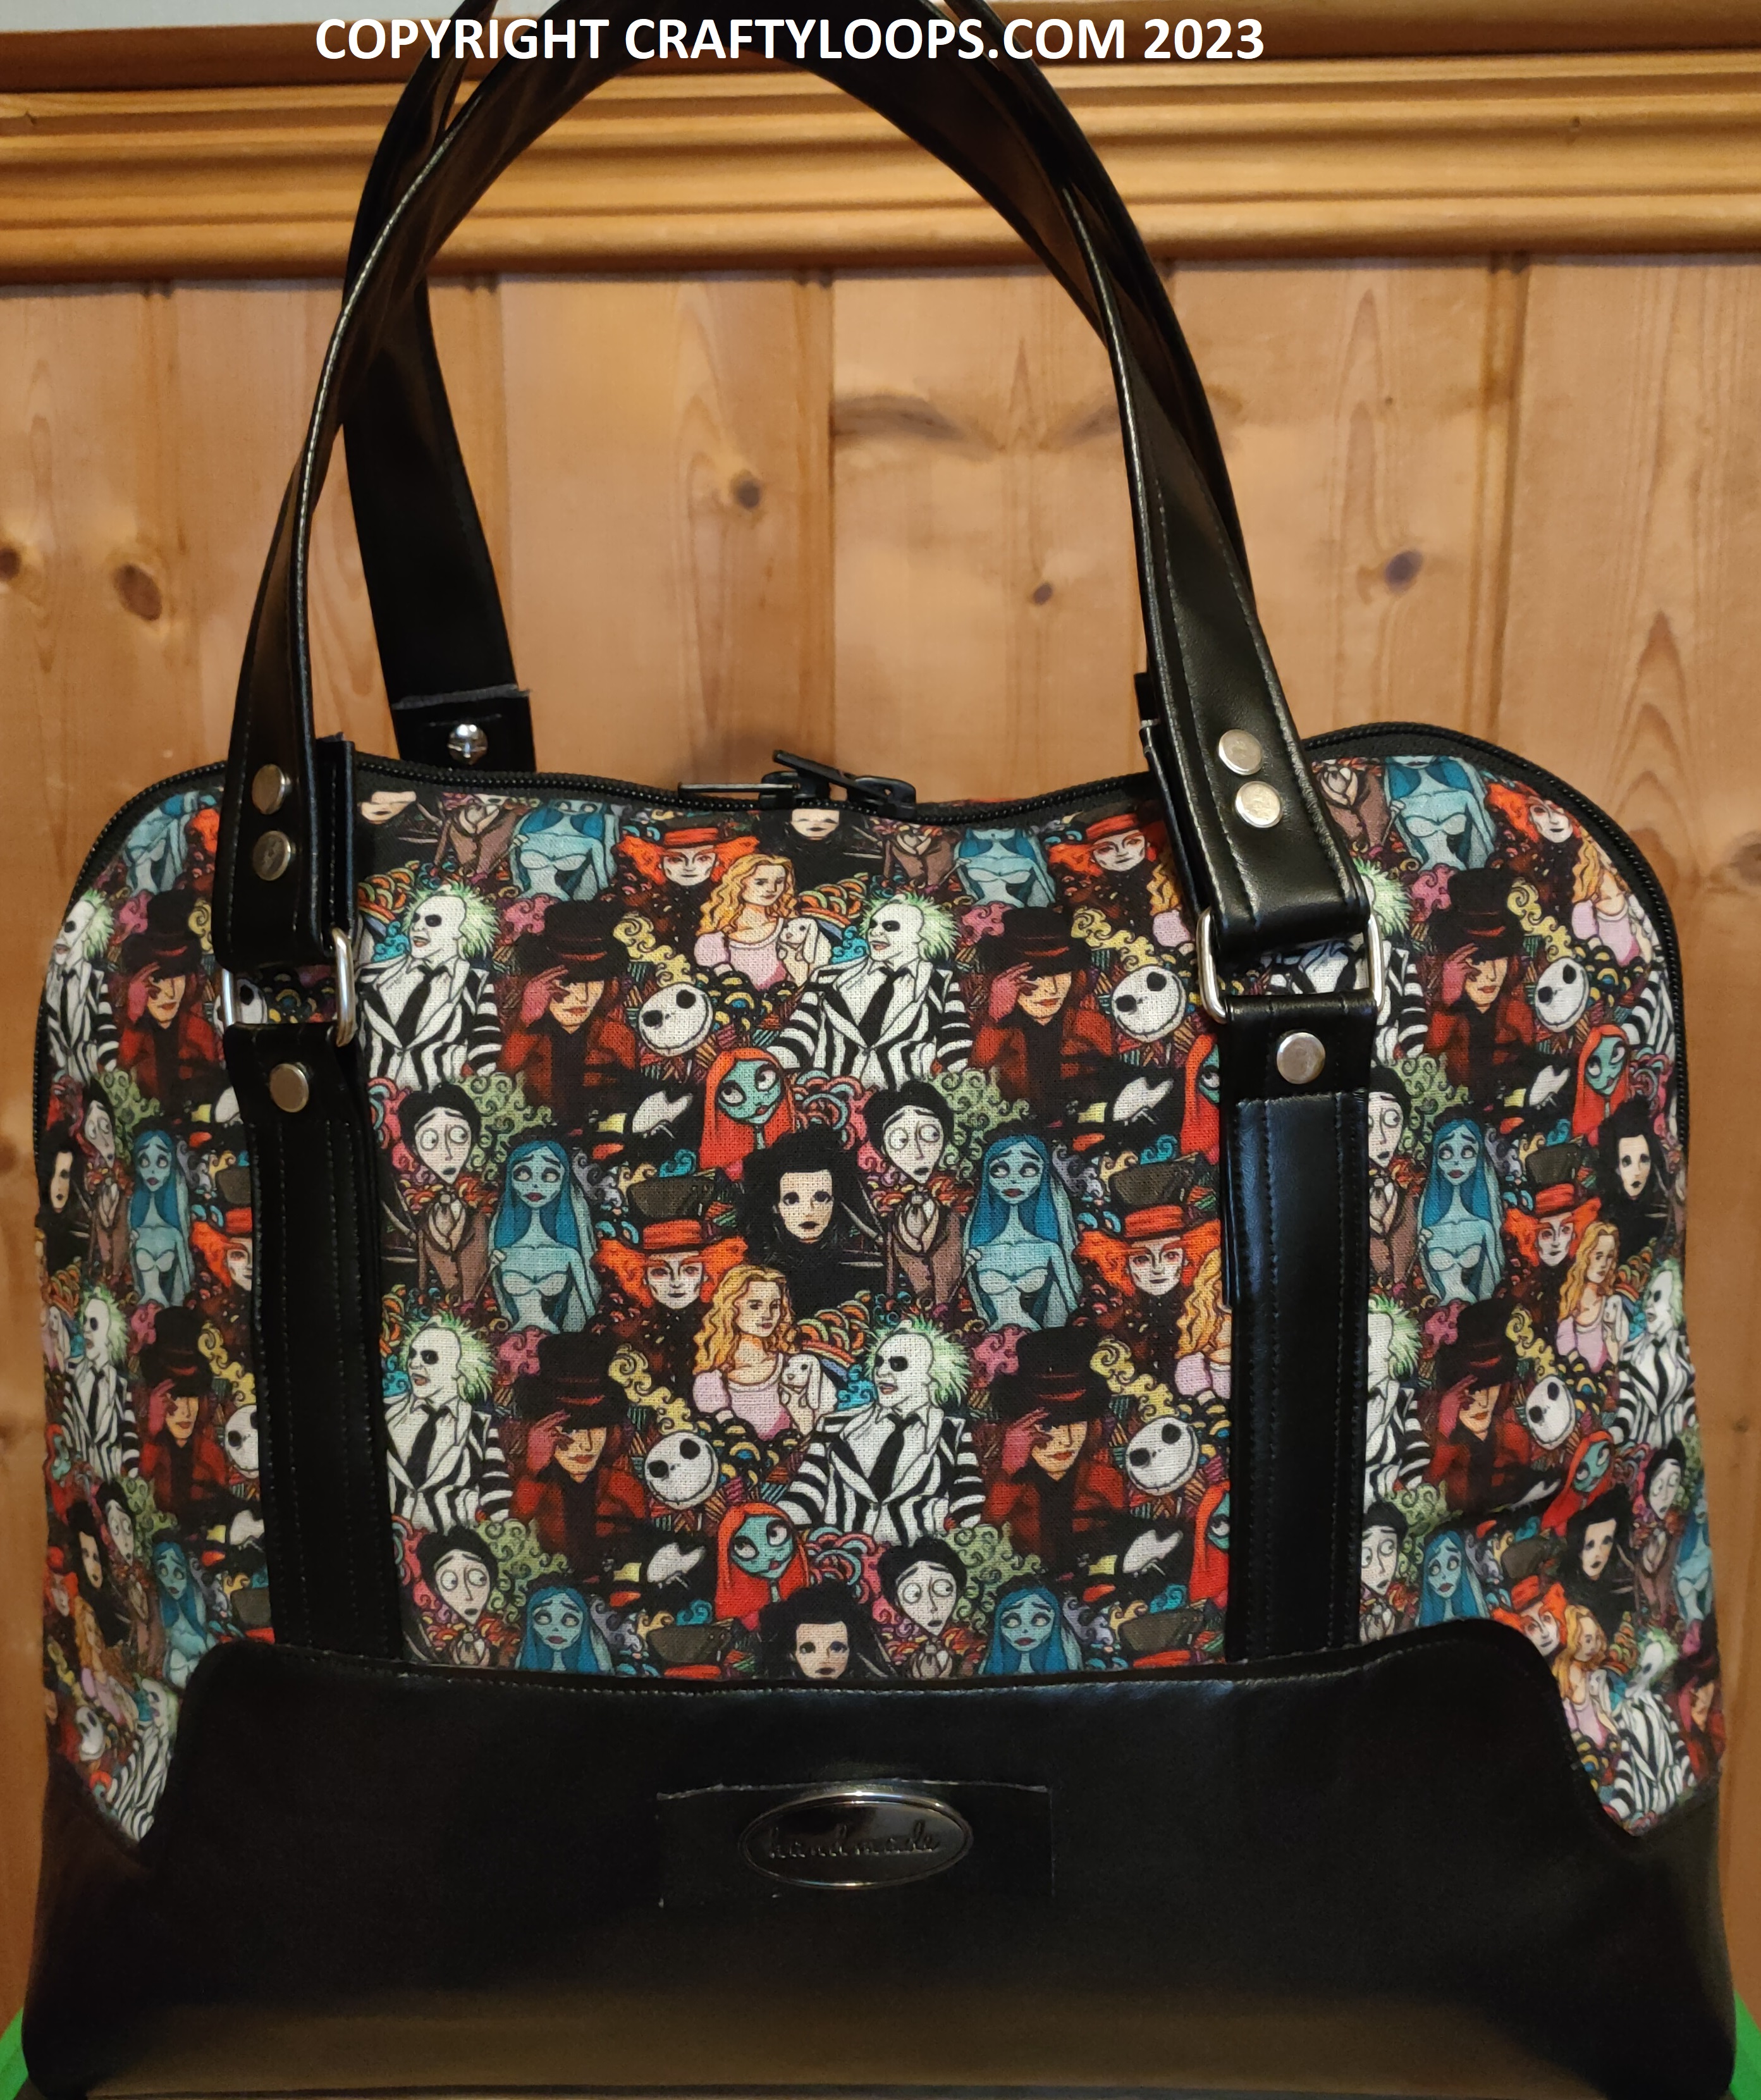
.Just be aware that when you cut your pattern, the faux leather is left with the raw edges exposed on this bag. So, along the front and top sides of the bag, you need to ensure you cut your faux leather perfectly, as per the pattern. Any frayed or dodgy cutting will be apparent on your bag. My faux leather has a greyish backing on it and I didn't want that to be seen along the edges of my leather. So, I took a black sharpie marker and just went along the raw edges of the parts of the fabric that would be visible. That way it looked uniform in colour and the grey raw edges wouldn't be apparent. I know you can buy leather edging paint to do this but it can be pretty expensive and why spend precious money when a sharpie does the same job, lol.
And that's another project....in the bag........ughh! I'm sorry, that was terrible, teehee. I thoroughly enjoyed making this bag. And I can't wait to use it out somewhere. I am not sure what I'll be up to next. I kind of have an idea of something I want to try next but it's a biggish enough project and as I've never made it before, it may take me a while to do it. Although, it seems like everything I've been making lately has been pretty much a first time. That's the joys with learning to sew new things...it's new every time, lol.
Toodles Noodles....Lee aka Crafty Loops xx


SHOPPING LIST
At the time of typing, the items I linked to are available. However, items stock changes all the time and with time marching by, some items I link may no longer be available from that particular seller. However, a quick Google search should help you out if my links are no longer working/available.
5& 1/2 inch Kai Scissors - Ebay (These are the best scissors I have ever used in my life. They may be small but they can cut through anything....including my finger....ask me how I know....oops!)
Monochrome, black & white fabric100% Cotton - Fabricco, Ebay
The Boronia Bowler bag pattern from Blue Calla Patterns
Faux Leather, black - Ebay
Metal Handmade label - Amazon
Jeans Needles - Amazon
25mm Buckle sliders - Amazon
8mm Chicago Screws - Amazon
Metal bag feet - Amazon
Bosal In-R-Form Plus double sided Fusible Foam Stabiliser - bought on Ebay
Teflon non-stick foot, Amazon- for sewing machine. Works great when working with faux leather. This foot works perfectly with my Janome QXL605 sewing machine
Woven Fusible Interfacing - (I used the black, lightweight this time around) - Ebay
No 5 zip tape & zip slides - Ebay
Personalised, handmade stamp - Stampingallday
If you like my blog and would like to buy me a coffee, I have a ko-fi page. Don't feel obligated though, it's only if you want to. Every Ko-fi goes towards maintaining this domain and blog. If you do buy me a ko-fi, a massive thank you to you. You'll never know just how much I appreciate it xx
I have a YouTube channel, if you want to check it out, click on the image below
another stunning bag Lee, you really have a talent for these, love the stripes so well joined up lol xx
ReplyDelete