Handmade Artist Teddy Bears - PayItForward FreePattern
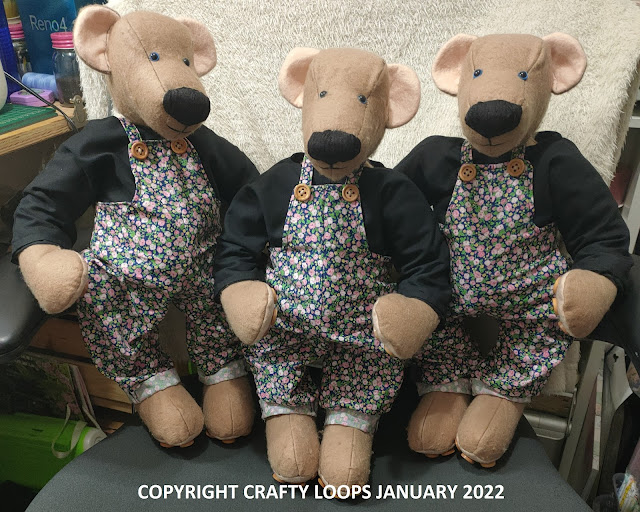
What about ye folks, it's Lee here. So, here I am to show you these 3 wee cuties. I know they are all the same...well, they all look slightly different in their faces as they are handmade, lol. Again, this is a free pattern from Lisa Pay from PayItForward on YouTube. I did a few adaptions in that I made clothes for these wee bears as apposed to the cute wee poncho that Lisa made. Please go over and have a look at Lisa's YouTube channel. Her patterns are so delightful and her tutorials are second to none.
Of course, as usual, I will put my shopping list below for as many of the items I used that I can remember, lol.
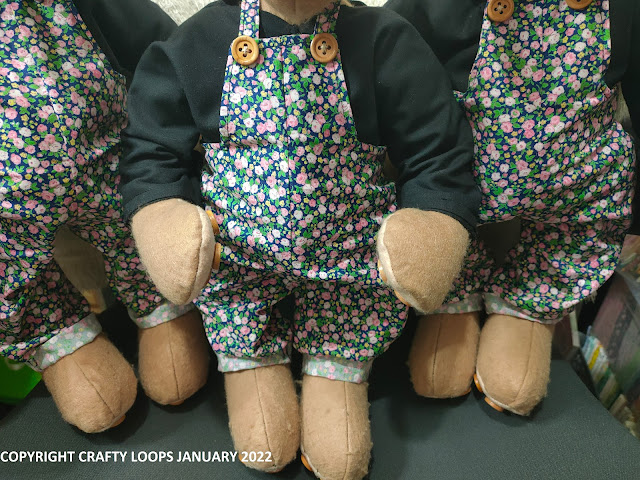
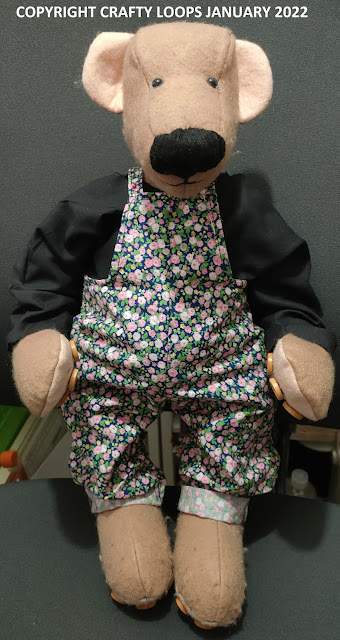
In order for the the shirt to fit properly, I made the pattern open at the front. I couldn't make the top to go over their heads because in comparison to their shoulders, the heads are pretty large. So to make a top to go over the head would mean that the opening would be very large and ultimately hang off the shoulders. So I made it that the shirt opens at the front for ease of putting on and I sewed a tiny thin strip of velcro to each front opening seam. I didn't want to add buttons as they would be too bulky underneath the dungarees. It was a bit of trial and error with the shirt design as, as you can see from the photo above, these wee guys have chubby little tummies. But I made it work......and any flaws are secretly hidden beneath the dungarees, teehee.
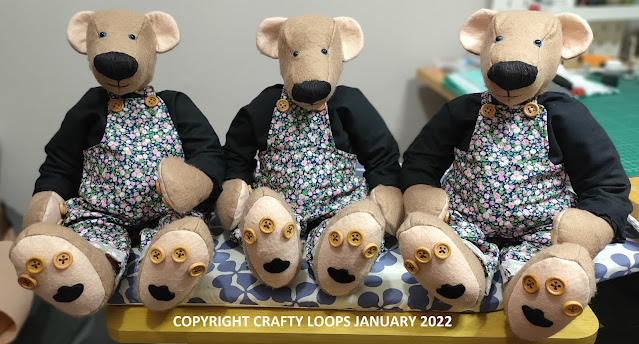
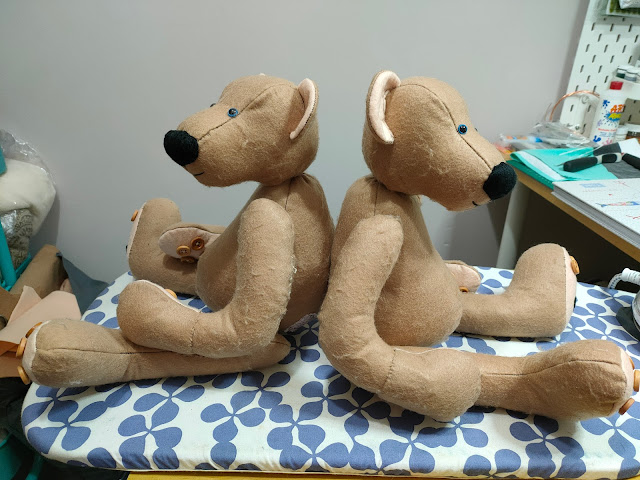
These bears are surprisingly easy to make.....other than having to correct silly mistakes that were completely my fault....see photo below......**facepalm**

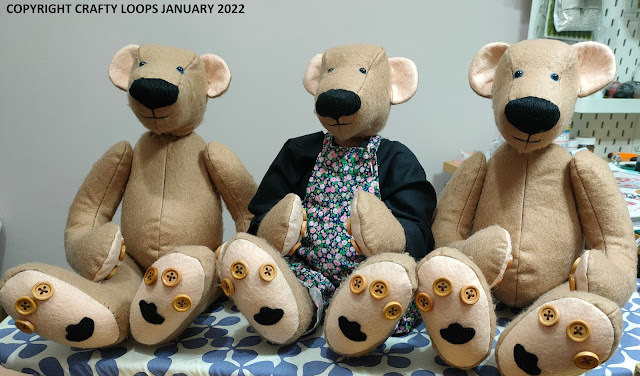
Can you see my mistake? Yep.....the arms/hands are on the wrong way around. Each of the buttoned paws are meant to be the palms of the paws....so on the inside. And I put them on wrong on all 3 bears! I couldn't believe I had made such a stupid mistake and so very close to the end of the making of them. And my big issue was, I had already added the arms with the cotter joints in place AND stuffed each bear and sewn them up. What a disaster! I didn't want to have to take them all apart. So I fudged it the best way I know how, teehee.

I cut off the buttons firstly from each bear. Then, I took the paw template and made it slightly bigger than the original paws and remade the paws but without stuffing....then, I placed the "new" paws over the old one like a pair of gloves and hand sewed as best I could, an invisible stitch around the wrist. It actually worked pretty well...but was definitely one of the reasons that I wanted to add a little shirt onto each bear. Now, the new paws are slightly bigger now, but you can barely notice the mistake and I think I rescued my mishap pretty well. My Scrubby suggested removing the buttons and just adding them onto the palms, but that would have meant that the outside of the paw was a different colour and it wouldn't have looked right. Plus I had glued and sewed the paw pads down and no doubt, they would have left residue of glue behind.....So my paw gloves remedy was the best solution and I was actually pretty happy with the outcome.

And just look at those cute, oversized feet....I think they are so stinking adorable. Cute little toe-beans, lol.

As their limbs move so beautifully, they look great sitting.....

Or standing.


And I know that they will put a smile on my 2 Nieces and nephew's little faces. Because of the type of joints that are used and the fact that they are so tightly packed with stuffing, I wouldn't class these bears as a "cuddle" type bear. Lisa even states this in her tutorial. She classes them more as display bears. So as these bears are probably more for display purposes, I think they'd be perfect for sitting at a Teddy Bear's picnic that your child could have or sitting beside your little one during their bedtime story or watching over them as they sleep, maybe sitting on a book shelf....you wouldn't want to be flinging them around the place....even though the cotter joints are strong and tightly installed. In my opinion they are probably a bit too stiff and with the tighter packing, a bit too hard to be a "bring to bed" bear or a "cuddle" bear. But then, what do I know. The kids can enjoy them whatever way they wish.
SHOPPING LIST
As of typing, the links to these items are available. However, I cannot guarantee that the links will always work. Therefore, I suggest doing a quick Google search and that should help you out.
Toy Safety Eyes - Ebay
Hollow Fibre Toy Stuffing - Ebay
Teddy Brown Felt - Ebay - other colours are available from the same seller
Cotton medium woven interfacing - Ebay - link no longer works but just do a quick search on Ebay
25mm cotter joints - Ebay
Fabrics - Various, from my stash
Buttons - from my stash
Would you like to buy me a Coffee? Every coffee bought goes towards helping me maintain this blog. There is no pressure, of course. If you do buy me a coffee, THANK YOU so much. You have no idea how much I appreciate it.

Here is the link t my Ko-Fi page or you can click on the image above. Cheers big ears!
Comments
Post a Comment
Helloooooo! Anybody out there??!! Hey....there you are! Thanks for leaving a comment and stopping by my Blog. Lee x